A toilet is one of the most essential parts of a home. Imagine living in a house without a toilet? Every homeowner should be conversant with some basic toilet fixes. It helps save time and money. You don’t have to involve the plumber in everything. Learning how to adjust water level in a bowl is on the basic fixes. It sounds redundant but your toilet bowl water level is very important.
When the water level in your toilet bowl is too low, you are likely to end up with clogs even if there’s enough water to flush it. On the flip side, if it is too high, your toilet can waste water by running constantly. It could even get close to overflowing. Luckily, both of these issues are fixable. You can use your hand or a screwdriver and you’ll be done in a few minutes.
Having the correct water level in a toilet bowl doesn’t sound like a big deal but if it is too low or too high it can cause problems.
A water level too low will make your toilet’s flushing power suffer, causing troublesome clogs and blocks. On the other hand, a high water level will prevent your toilet from flushing all the way. It could also lead to an overflow.
The water level of your toilet is determined by a float Trusted Source Understanding Toilet Tank Floats | Toilet Repair & Replacement in Atl If you have flushing issues, it could be a sign of too little water. And too little water leads to clogs. Click here to learn how your toilet float can help solve the problem! www.rsandrews.com , which is a device that allows the water tank to fill up with water without overflowing. It turns the water on an off depending on the amount of water in the toilet bowl and in the tank.
To raise or lower the water level in your toilet bowl, you must adjust the float. There are 2 kinds of float: a ball-and-arm float and a cylinder float. Below are some clear instructions on how to adjust water level in a Kohler or Toto toilet bowl.
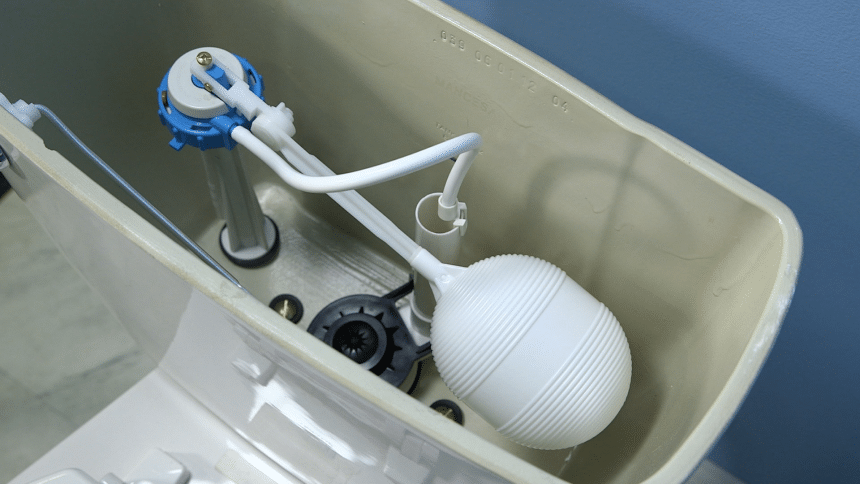 This float has a plastic ball shape and is connected to a metal arm. Here is a step by step guide on how to adjust it:
Step 1
Remove the toilet tank lid by lifting it off and setting it aside on a flat, stable surface. This should give you access to the flushing system in the tank. Be extra careful with the lid as it can easily break, especially if it is made of ceramic.
Step 2
Check out the water level in the tank. The water level in the toilet tank should be at about 1 to 2 inches below the overflow tube and fill valve. If it is lower or higher, then your toilet’s water level is out of balance.
Some toilets have a line in their tanks that indicate the correct water level. It can be etched in porcelain or printed.
Step 3
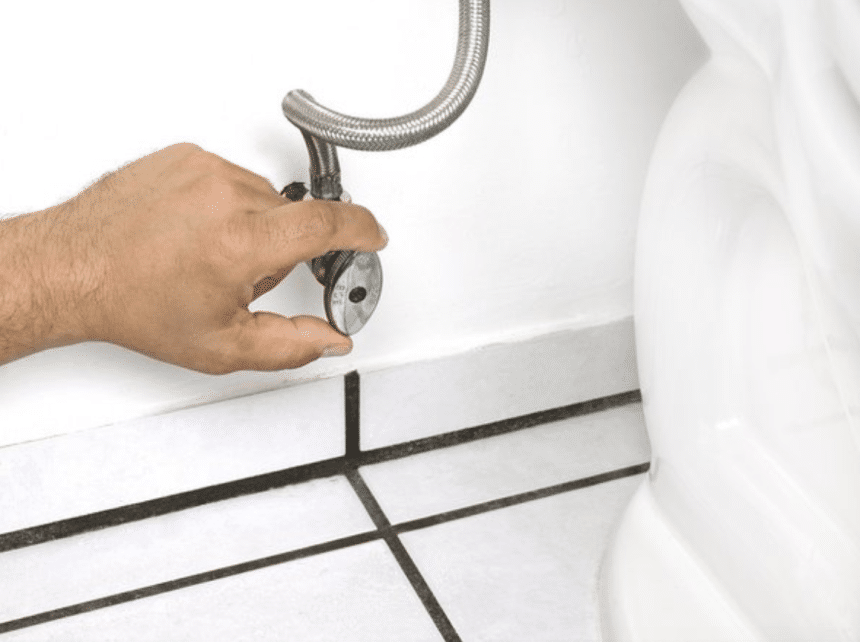
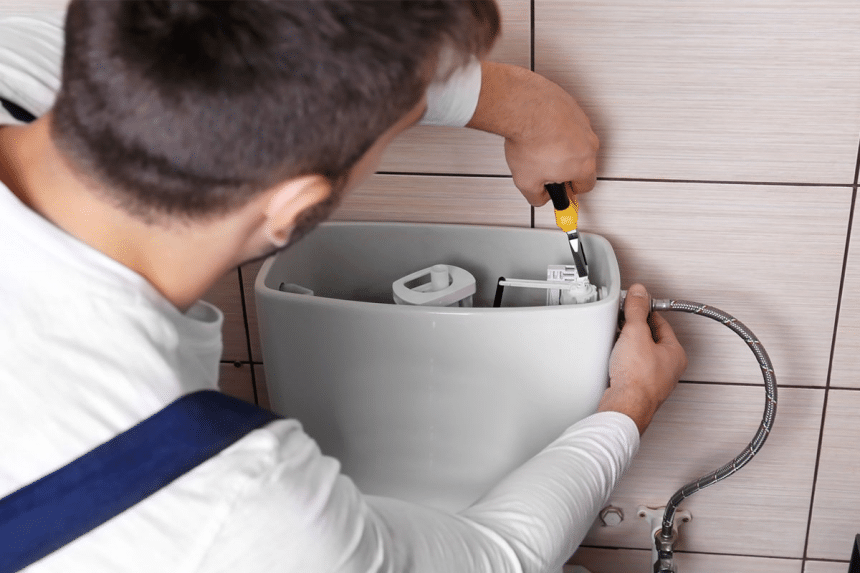
Next, turn off the toilet’s water supply. You can only do this with the external valve. It is usually located on the wall behind and beneath the toilet. Rotate the valve in a clockwise direction as far as it can go. Keep turning it until you can’t hear any water run.
After successfully turning off the water supply, flush the toilet. Once it’s flushed, the tank won’t fill up so you will be able to work on the tank without any obstructions.
 Step 4
Check out the fill valve and the float. Examine the flushing mechanisms just to see what condition they are in. If there are noticeable damages or defects then seek help from a professional to get the system repaired.
Step 5
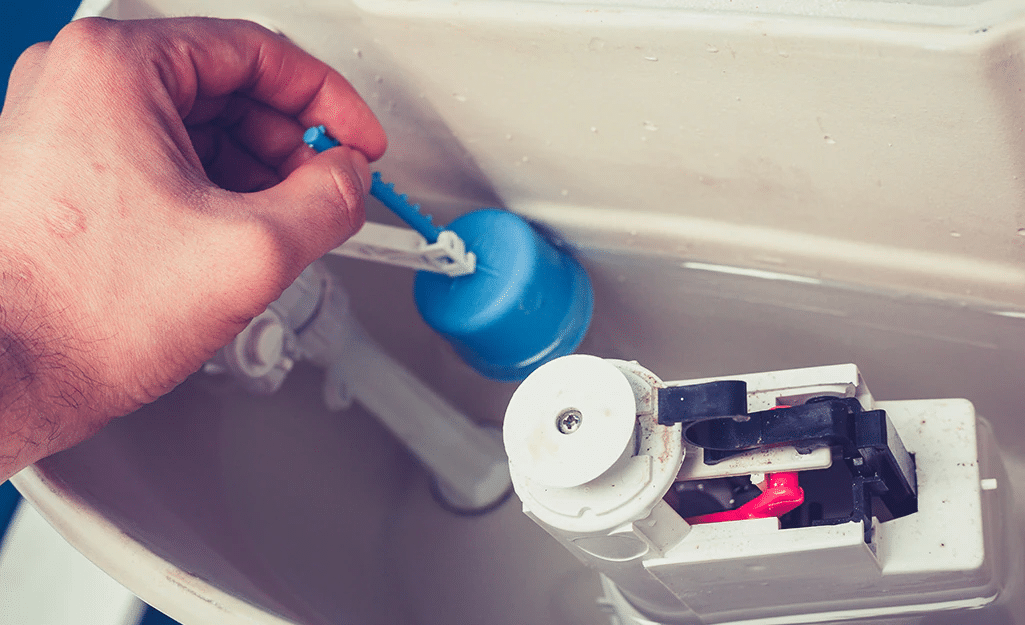
Check out the float’s height. The float is a plastic ball attached to a long arm on top of the fill valve. Its height determines the amount of water that remains in the tank after a refill. You will know it’s okay if it is at the water level. If it appears to be lower or higher, it could be the cause of your toilet bowl’s off-balance water level.
You can adjust the float’s height then refill the tank to see if it affects the water level in any way. Also, shake the float. If you hear any water inside it, call a plumber to replace it. If it is okay, check if it is connected to the fill valve properly.
Step 6
Adjust the float’s height with a screwdriver. Most toilets have a screw right on top of the fill valve. Use a screwdriver to turn the screw either in the clockwise or anticlockwise direction. One full rotation in the clockwise direction should lower the water level while a rotation in the anti-clockwise direction should raise the water level.
Be sure to only make one full rotation at a time. You don’t want to make large adjustments as it would cause the toilet to flush inconsistently. If the screw in your toilet is too rusty, you can simply turn the float with your hand.
Step 7
Flush the toilet. Flushing the toilet will allow you test the water level. Turn the water supply back on, then give it time to fill up. Once it’s filled up, flush then examine the water level in the bowl. The bowl should be at least halfway full. If the water level still appears to be too high or too low, repeat the entire process until you get it right.
The cylinder float is much easier to adjust. It resembles a cup with a central cylinder. Here is a step by step guide on how to do it;
Step 1
The first obvious thing you should do is identify the cylinder float. Most modern toilets have the cylinder float because it is easy to install and maintain. It is also the most user-friendly for anyone not used to DIY home repairs. The cylinder float is a floating cup with a central cylinder fitted to the valve’s shaft.
 Step 2
Remove the tank’s lid by lifting it off and placing it on a flat and steady surface. Next, examine the water level to see if it is 1 or 2 inches lower or higher. If it appears to be lower or higher, it needs adjustments.
Step 3
Locate the external valve on the wall behind the toilet and turn it in a clockwise direction until you can’t hear water running. When the valve won’t turn any further flush the toilet continuously until the tank is empty.
Step 4
Find the adjustment stem. The adjustment stem is located on the side of the float. It is a long and slender tube that connects to the larger fill valve. It usually runs parallel with the valve or extends from the top horizontally.
The adjustment stem is meant to increase or lower the amount of water in the tank. Before you make any drastic changes, ensure you understand the mechanics of your toilet tank. You can always refer to the user manual if it came with one.
Step 5
Find the release clip on the float. Some cylinder floats can simply be adjusted by squeezing a release clip on them, then raising or lowering to a desired height. If your float doesn’t have a release clip, you will have to locate your toilet’s adjustment dial. If you raise the dial, the water level will raise. If you lower the dial, the water level will lower.
Step 6
Adjust the float by raising or lowering it by ½-inch. Once you have located the stem, use 2 fingers to grasp the notched dial on its end. Give a full rotation clockwise to lower the height of the float or anticlockwise to raise it.
Once you are satisfied that you’ve found the correct float height, return the toilet lid and turn on the water supply.
In case you have any difficulties turning the adjustment stem, examine it further for a screw. Some of them are secured with screws. Be sure to turn the notch is a single full rotation. An adjustment too large can make your toilet flush inconsistently.
If all the above adjustments don’t seem to work, then you ought to replace your fill valve. Here is a step by step guide on how to go about it.
Open the bowl at the base of your toilet tank. If you find this uncomfortable, you can get a plumber to do it for you. Fill valves vary across different toilet models. A pressure assisted toilet will have a different kind of fill valve from that of a low-flow toilet. You can check the manufacturer’s website for the fill valve you need to buy for your toilet before making a purchase.
Alternatively, you can buy a universal toilet repair kit at your local hardware store. According to top reviewers, the TOTO TSU99A.X Adjustable Replacement Fill Valve is one of the best fill valves that money can buy. It height is adjustable for all TOTO toilet tanks and you can count on it to reset your tank back to optimal performance.
 Step 2
Turn off the toilet’s water supply then drain off the tank completely. You can use a towel or sponge to remove any water remaining. Once you have located the exterior water valve and turned it clockwise to the end, flush the toilet.
Locate 2 nuts on the outside of the tank and unscrew them. Unscrewing the nuts will detach the fill valve. The first screw is the one that connects the water supply to the valve. When you unscrew it, pull the supply line out of the valve.
The second screw is the one that secures the valve to the tank and is usually a breeze to loosen. You can use pliers to help you loosen the nuts.
Once you are done detaching the valve, lift it out of the tank with the attached float. It should come out easily in one piece.
Position the new fill valve in place. Ensure it is securely attached to the base before you put the toilet back together.
Reattach the water supply hose to the valve’s bottom then screw the large nut back on tightly to prevent any leakages when you turn the water supply back on.
Lastly, turn on the water supply then give your toilet a test flush. Flush severally to check the new level of water.
 Kohler toilets come with float valve adjustment clips. You can adjust the water level by squeezing the adjustment clip while sliding it up or down. This should help adjust the water to the desired level.
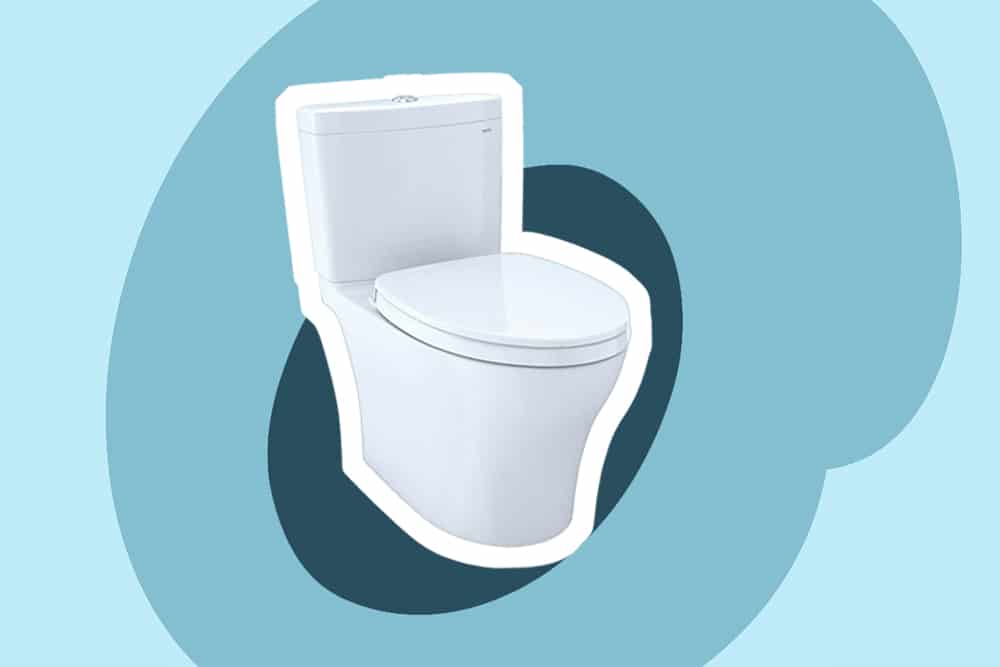
Inside a Toto toilet tank, is a flush valve, which is a cylindrical tube mounted vertically. You can unlock the flush valve by turning it halfway in an anti-clockwise direction to be able to adjust the flush tube so that you can change your toilet bowl’s water level as desired.
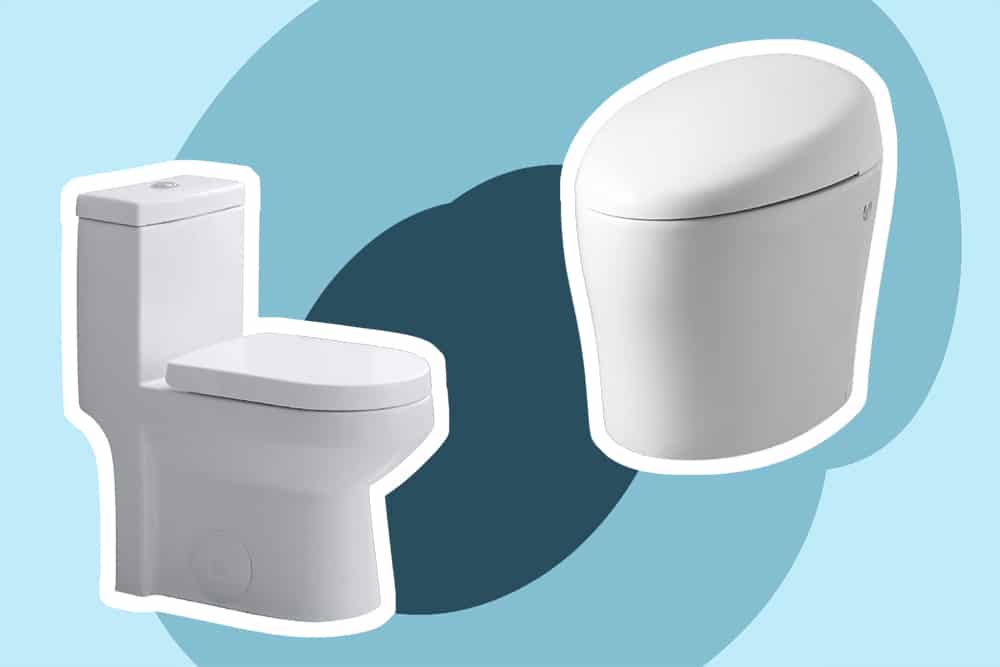
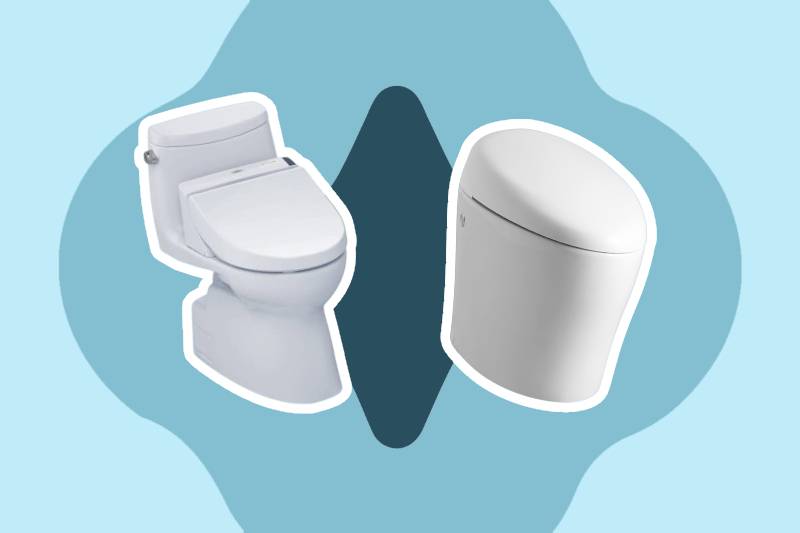
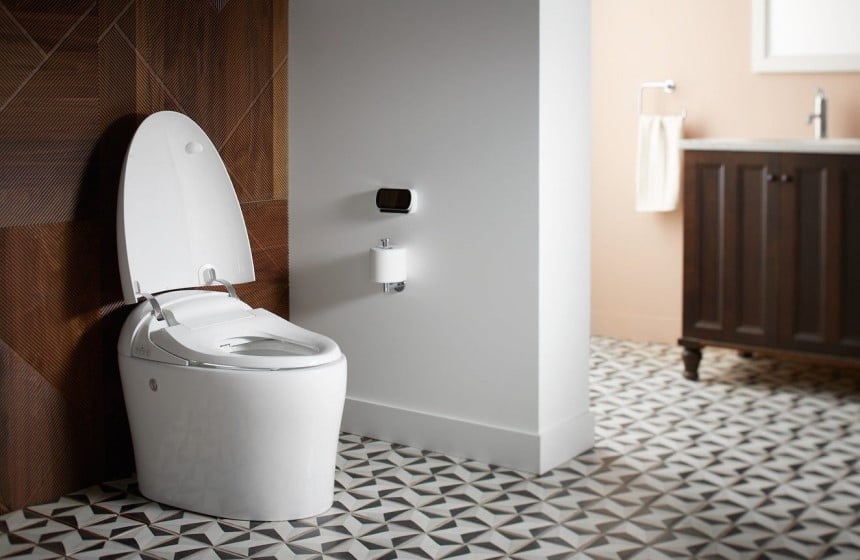
You may have invested in the best modern toilet like the famous Kohler 3810-0 but with time it could encounter flushing issues because high or low water levels. This can be a tad frustrating, especially if your toilet, like the Kohler 3810-0, has a compact easy-to-clean elongated design that offers superior comfort. Luckily, water level issues can be easily fixed without breaking a sweat or the bank.
We have provided clear guidelines on how to adjust water level in a toilet bowl. You can go about it in 3 different ways. If you feel uncertain or uncomfortable about the procedures, be sure to use a plumber’s services. All the procedures are pretty straightforward, even a home repair DIY beginner can hack it without difficulty.