It’s easy to see why fiberglass is used in so many different products around the house and the material is perfect for bathtubs as it is so durable. Unfortunately, it can still sometimes crack or break, but it is fixable. In this guide, we explore how to fix a crack in a fiberglass tub and give you some simple and effective tips for getting your tub back in the ideal shape. It’s vital to be informed before you get started so that you aren’t at risk of doing more damage.
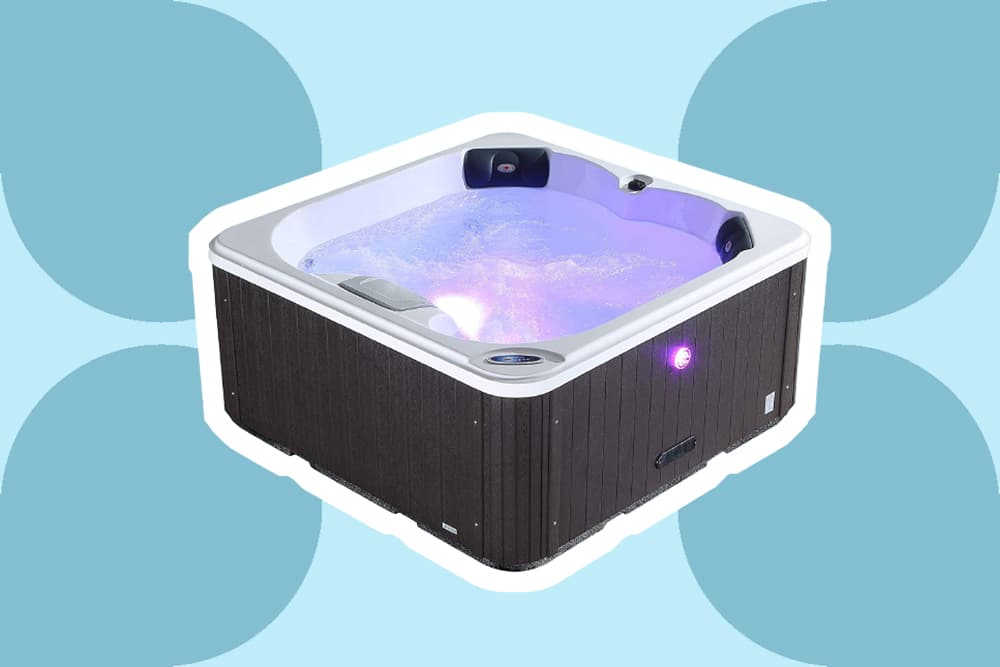
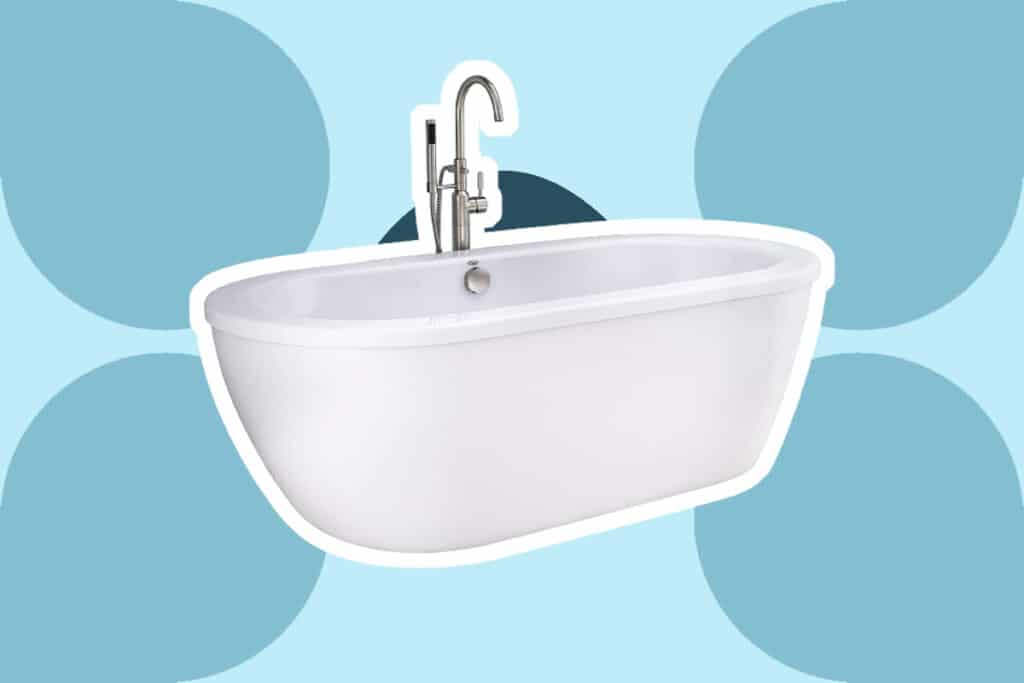
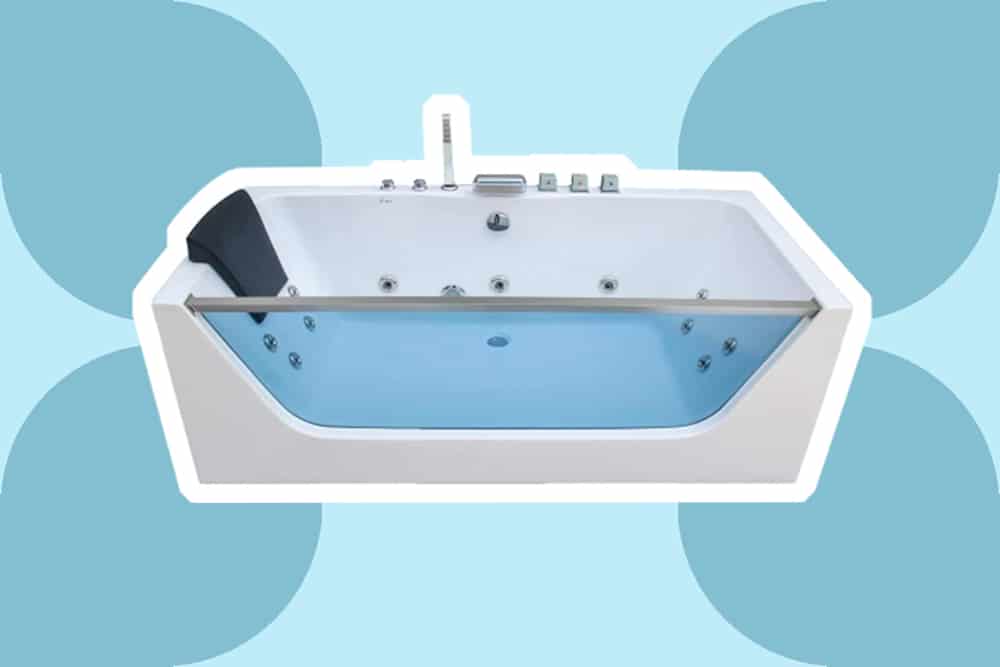
Trusted Source cen.acs.org is one of the best possible materials for making bathroom products, but it is not totally infallible, and it won’t last forever without any maintenance. Whether you’ve got an acrylic tub, or a fiberglass tub, you might end up having to make some repairs after a while. There are two main types of cracks in a bathtub.
A stress crack comes from dropping something heavy in the tub, or it can even come from falling in the tub. These cracks are usually just on the surface so don’t require too much difficult maintenance to be able to repair them.
A hairline crack may develop over time, just because of the consistent use of the tub. The cracks can be a bad sign that your bathtub might have seen better days and could be on the way out. If you buy one of the best bathtubs, it is unlikely that you are going to get any cracks in the first few years, and hopefully the manufacturer will give you a warranty to protect your purchase.
So in summary, cracks can appear for a variety of reasons. Sometimes, it is just because of the tub getting a bit older, so it could just need some TLC. Below, we’ll show you how to fix a hairline crack in a fiberglass tub, or a crack that has come from impact. The process is the same.
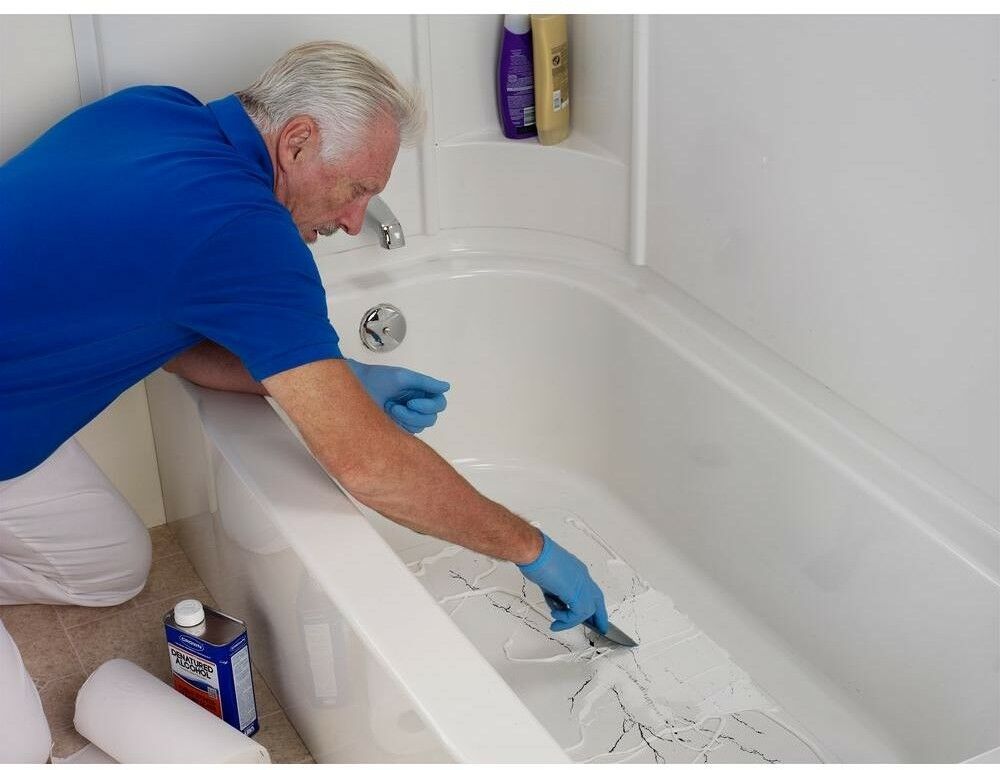
When it is time to fix the crack, make sure that you are aware of the hazards. It’s crucial that you wear chemical resistant gloves and that you ventilate the area, otherwise the
Trusted Source
What You Know Can Help You - An Introduction to Toxic Substances
What You Know Can Help You – An Introduction to Toxic Substance
www.health.ny.gov
or even make you unwell.
Let’s dive into the tools you’ll need and the actual steps to repair the hairline or stress crack.
The easiest way to get all of the materials you need is to buy a fiberglass repair kit. These are commonly available and give you the majority of the materials you need for your fiberglass bathtub.
You can even buy non-hazardous kits that are better for the environment and take some of the risks away from the process.
They tend to contain:
You will also need other items including a sponge, scissors, and a paintbrush. You may also want to put something protective down to prevent any sort of spillages.
Before you get started, you need to check that the crack is just on the surface. If it has gone all the way through the tub or reached right to the bottom then there is a chance that it is not something you’ll be able to repair yourself.
Though it is less than ideal, in this sort of scenario the best thing to do is to contact a plumber who might be able to make these repairs for you. Only do it yourself if you feel confident doing so.
Step 1: Clean the area. You can just use any simple household cleaner such as those you would use to clean an acrylic tub. Use this on the area around the crack to get rid of any sediment. You can rinse it with water afterward and dry it off with a cloth before you start step two.
Step 2: Sand around the crack, you can use a brush and some sandpaper to leave a clean and smooth area around the crack.
Step 3: Use the adhesive that came from the repair kit. You’ll probably also have a specific brush that allows you to paint around the area with this adhesive. Leave it to dry before moving on to the next step.
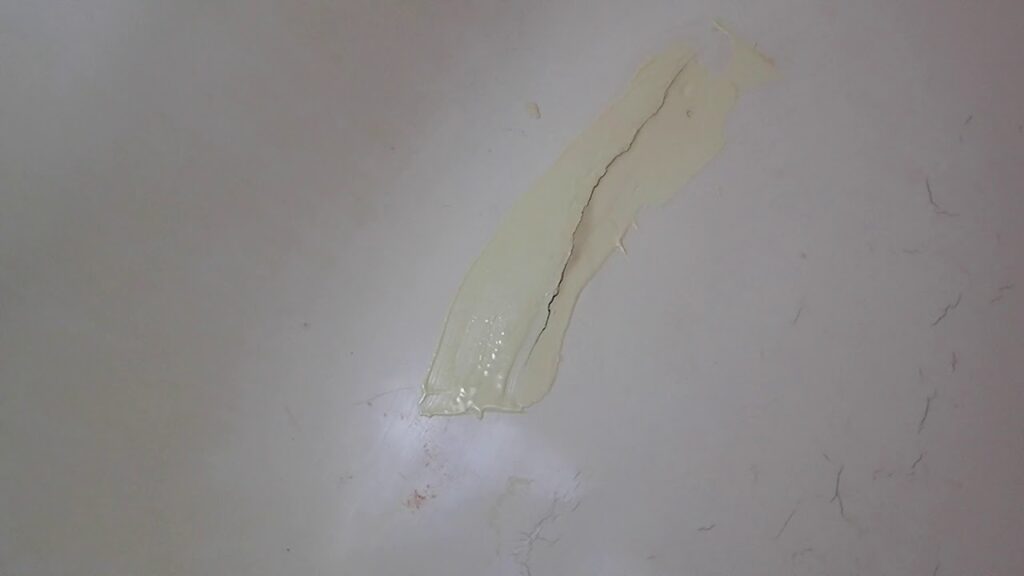
Step 4: Apply filler. You will be able to use a knife to fill the crack up with the filler. Once this is done, create a level surface by removing any excess, a little like you are plastering across the area.
Step 5: Sand it down. You can use a gritty sandpaper with fine-grit to get rid of any excess, you’re trying to make it look as close as possible to the original design and get the area flush with the rest of the tub.
Step 6: Gel. This is time for the gel coat, an Trusted Source Is Epoxy Resin Food Safe? - Artypod Is epoxy resin food safe? We explore the safety of resin for craft projects including plates, tumblers, and much more. artypod.com gel coat, similar to that used to glaze art projects or plates. You need to make sure that the whole crack and an inch either side is covered.
Step 7: Cut up a piece of fiberglass cloth and put this on the crack, run your knife along it to prevent air bubbles, applying pressure to the resin. Next, you can apply a second coat of the epoxy gel.
Step 8: Seal. You can apply sealer now to the area of the crack, which will help get it to the original look of the bathtub, with a glossy finish and the color that the tub originally was.
The crack in your bathtub could have been caused by a variety of different things. Whether it is from dropping something in the tub or the bath has just become worn over time, it shouldn’t be too difficult to fix. Following our steps on how to fix a crack in a fiberglass tub will help you to ensure that you get the maximum lifespan out of your tub and that you don’t have to run the risks of water escaping. If you have more than just a hairline or superficial crack then it might be time to get a plumber, as it is always better to be safe than sorry when it comes to getting your tub repaired.
Fortunately, most of the time, a DIY repair is all that is needed, and you can get started by buying a fiberglass repair kit.