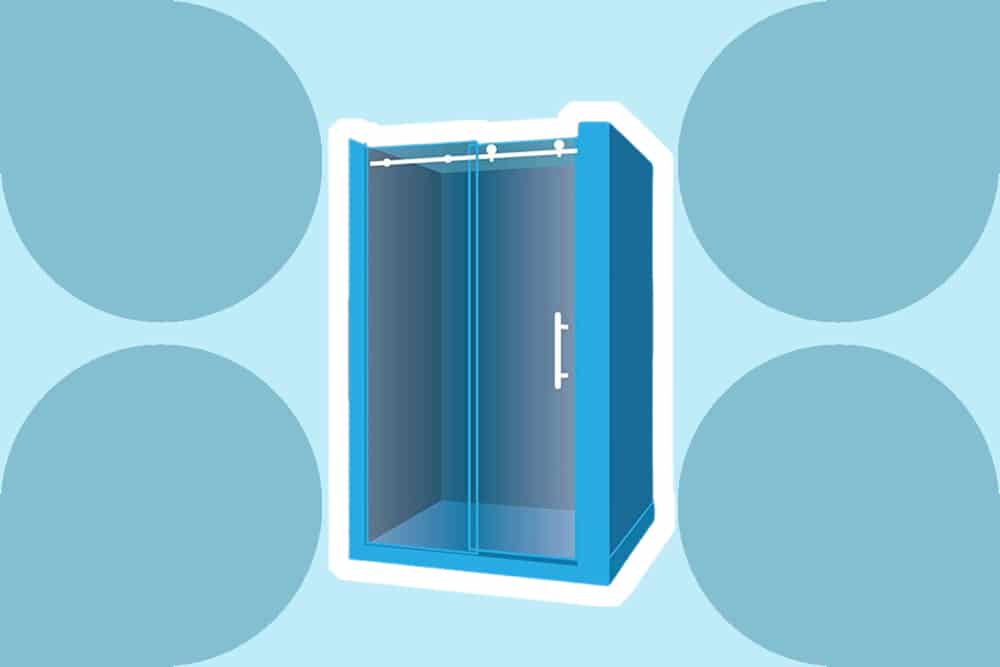
There are categories of shower faucets with a single handle while some others come with two, and that is referred to as the double-handle or stem faucet, which is our major focal point in this article. The need to replace your shower valve comes from the infuriating discomfort brought by a drippy, wobbly and shower that doesn’t run well.
At first, it might seem like you need a special skill or talent on how to replace a two-handle shower valve, but that is not the case. Inherently, it is not a herculean task. Coupled with this step-by-step guide, you will have it easy. The summary of what you have to do is close off the water supply prior to the removal of the handles and stem, fix your new two-handle shower valve and turn the water back on.
The succeeding paragraphs comprehensively explain how you should go about the process of the replacement. All you need to do? Follow our DIY guide!
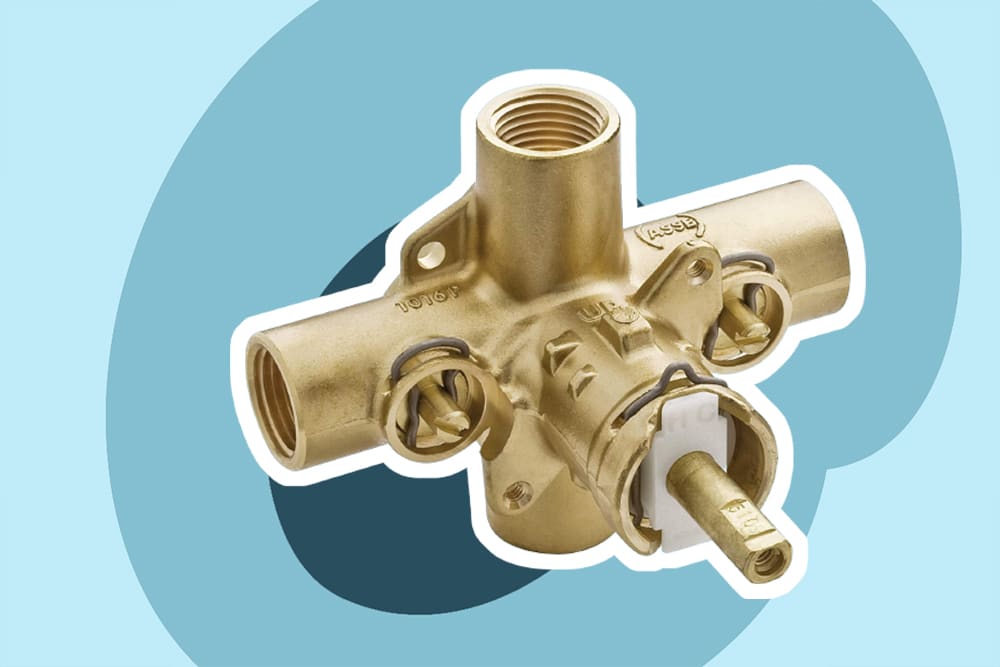
 As, of course, the chief component and basic ingredient, you need a new two-handle shower valve, and it is suggested you opt for one with the same set up as the old one. The following are the tools required in replacing your two-handle shower valve:
Not only will this mission be difficult but close to impossible if you fail to gather the right tools. You can acquire these tools by either purchasing them or renting them from home improvement stores.
When the unavoidable need arises, and you need to replace your two-handle shower valve, follow the instructions on this guide, and you are guaranteed victory over a dysfunctional valve.
When it’s a matter concerning plumbing Trusted Source Toolbox tips: basic plumbing | DIY | The Guardian Dripping tap, smelly sink, leaking bath? Don’t call out a plumber. In part three of our DIY for beginners series, <strong>Rachel Holmes</strong> gets to grips with stopcocks, U-bends and sealant www.theguardian.com , the first step to take is to turn off the water supply. Turn off the water in your bathroom supply by simply flipping the switch that leads to the shower on the water line.
To ensure your water pressure is steady, you can turn on the water in your sink and let it run. Subsequently, open up the faucet to free up pressure built up in pipes and high-pressure showerheads. When this is done, you can move on to the next step.
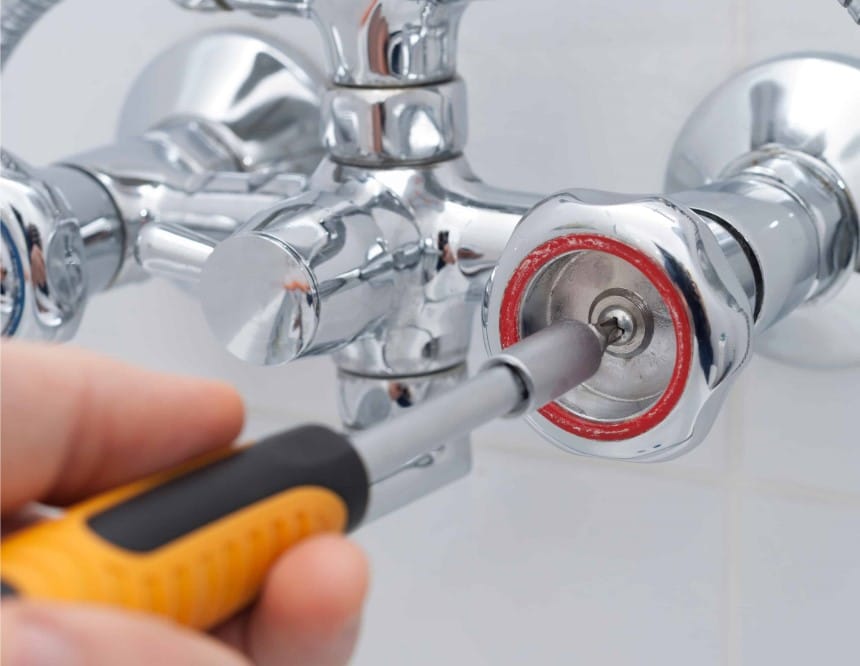
Using either a screwdriver, an Allen key, or an adjustable wrench, you need to remove the shower handle covers and, to avoid misplacement, put it in a box or safe space to adequately secure it. After you must have removed the shower handle cover, you need to remove your shower stem. Since most of them come in the shape of a screw, you can effortlessly unscrew them or remove them with a wrench. Put them in a box too for safe-keeping until you need them when making the replacement.
When taking out the old valve, you need to exercise proper care because there are fragile components you do not want to hit. In the incident where you cannot get around your bathroom wall, you should make a hole big enough to allow your movement decently comfortable while you replace your two-handle shower valve.
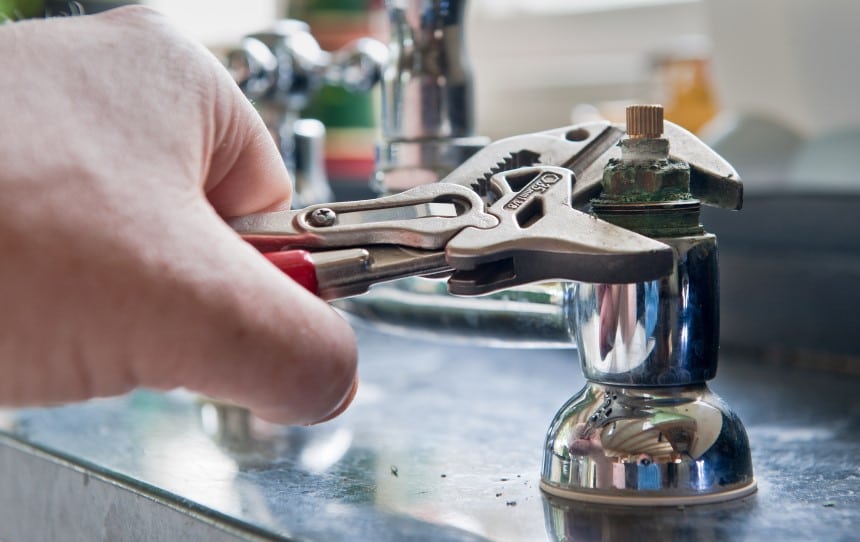
Remove the old faulty valve by disengaging the valve from cold and hot-water pipes while exercising caution. In case you have a different pipe that brings water flow to the dual shower heads or a shower system, you need to detach such pipes too with an adjustable wrench. Like other components, you should keep this old valve in a safe place.
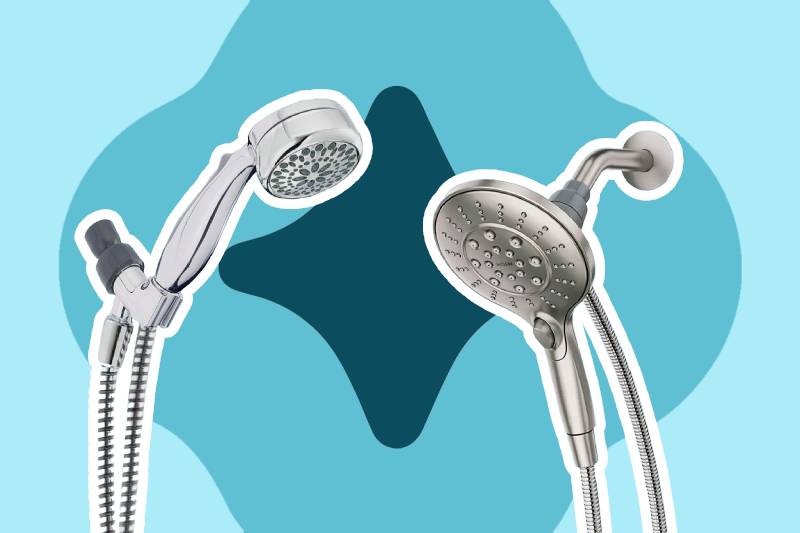
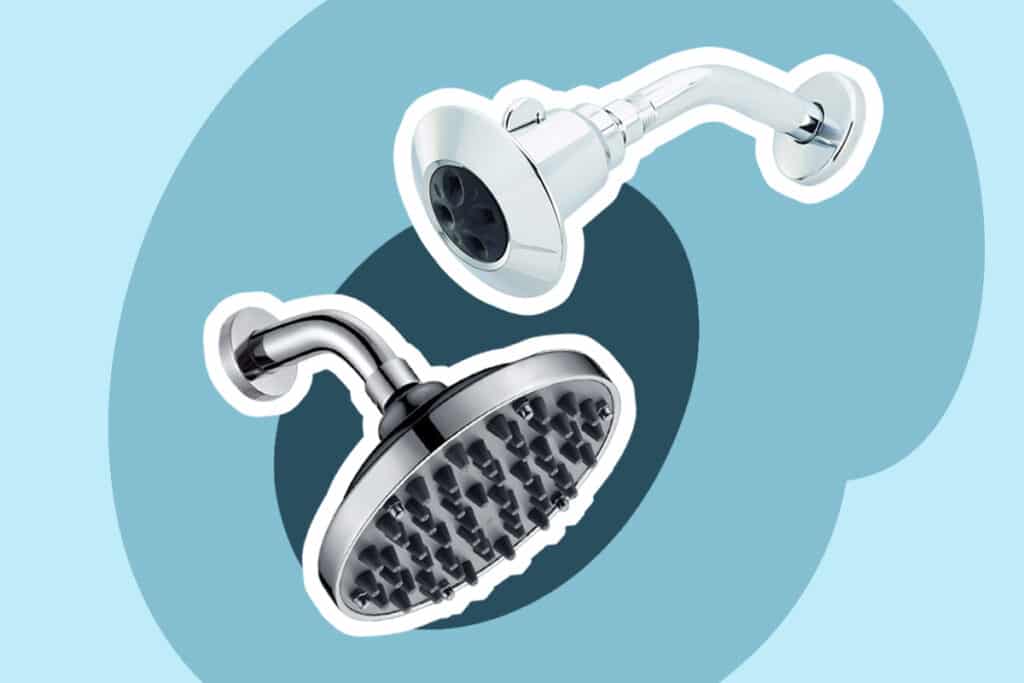
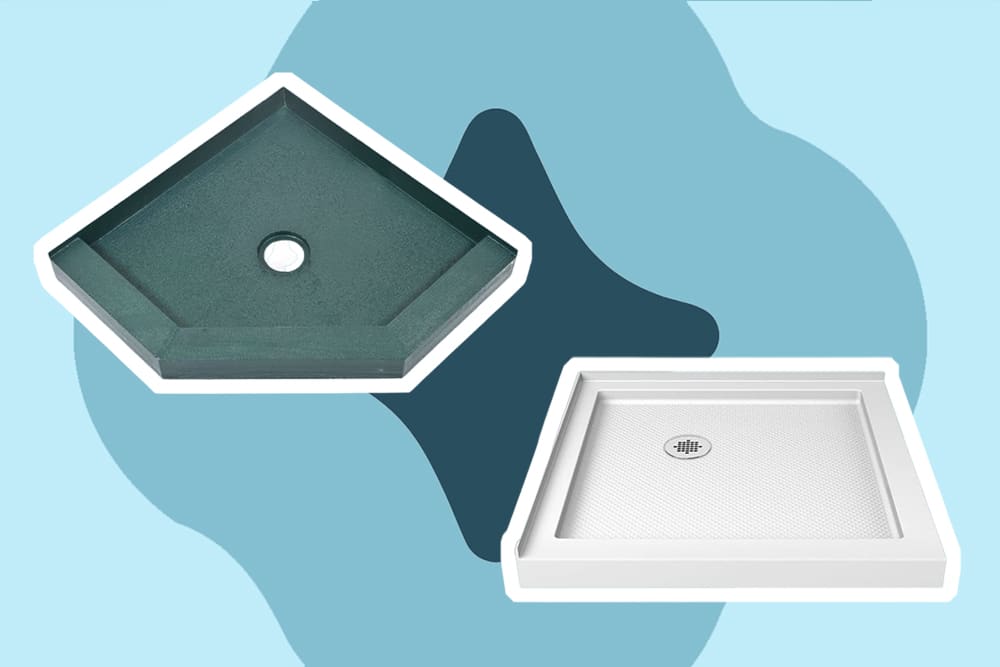
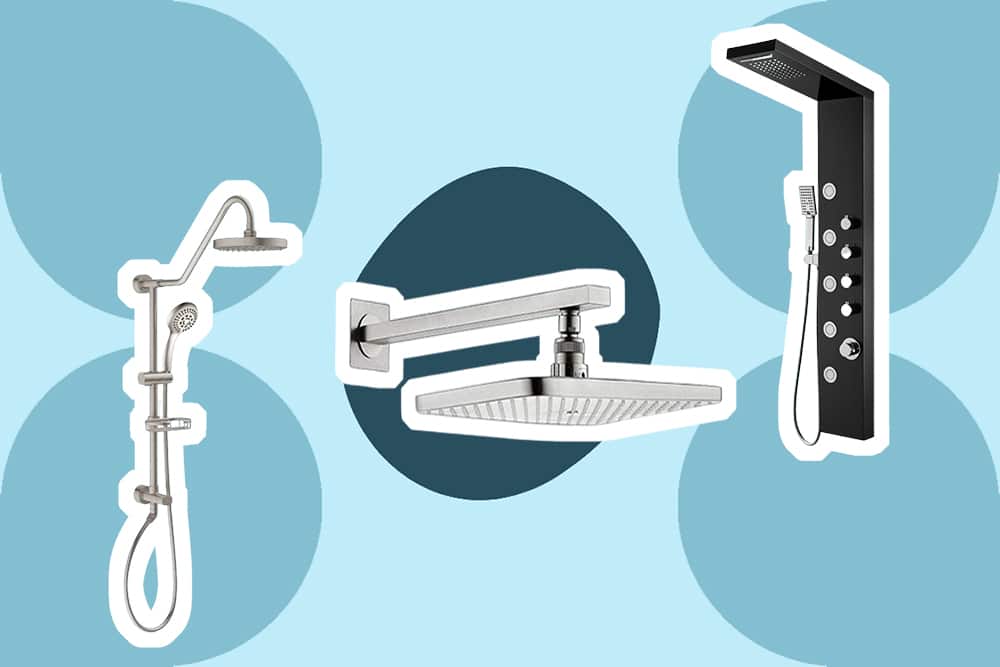
If you are looking to replace a showerhead as well, the Aqua Elegante H4D125-PC is a great model with six functions. Alternatively, if you are interested in LED shower heads, the Hotel Spa Neon Ultra-Luxury LED Hand Shower is a fantastic choice for you.
 Step 4: Install the New Shower Valve
Fix your new-fangled valve in the exact position where the old shower valve was situated and fix it the exact way the old one was because a slight difference can cause huge problems. This is why it is advised that you employ the use of the gears from your previous valve. Now is the time for your Teflon tape to come into play by binding the couplings and adapters with your new shower valve.
It is important to note that your water line pipes and vents link in a corresponding manner. That is, your right vent should be linked to your right pipe, and your left went should be linked with your left pipping. After all this, the end which has justified the means comes, and that is fixing the new valve to the initial position and placing your two-handle shower valve by assembling all the stems, handles, and other parts.
Test run your brand-new valve by turning on the water supply you have turned off previously. Since it’s a two-handle shower valve, turn both of the knobs to allow water to flow out. Your sign of a perfect replacement will then be evident if you don’t find any water leak. Finally, clean up the dirt that you have in the bathroom as a result of the replacement and enjoy.
Murphy’s law that says “whatever can go wrong will go wrong” might come knocking on your door during or after you have replaced your two-handle shower valve. In this segment, we talk about the common hitches that come with a replacement which might award you the stress of spending more than you have in mind. For instance, DIY will cost you an estimate of 20 to 100 dollars, but when you encounter these problems, you might have to spend at least 300 dollars.
The easy task of replacement might become tough when a challenge is posed because you have no means of entry to the inside wall. This is as a result of how your bathroom is built or designed and leaves you with no other choice than to remove your wall tiles or, worse-bring down the walls.
Another glitch you can have has no means to reconnect the new pipes. This happens if your old pipes’ material is from galvanized steel which is relatively too strong for you to simply cut through it as it will affect the threaded portion of steel pipes.
Some houses that are not new models say they are like four-decades-old might have a specialty to it because it is known that older houses have plumbing setups that are not so common. Just know that the older the house is, the more likely it is that you will need the services of a professional.
You might not have the luxury to fully study the guide and just skim through it, then fix the two-handle shower valve carelessly, which will amount to a waste of energy, time, and resources because your shower still won’t work.
With all this in mind, you can choose if you want to replace your old two-handle shower valve yourself or leave it to the more skilled hands of professional plumbers.
Honestly speaking, a shower valve replacement can be done easily so far. You follow the steps cautiously. Although learning how to replace a two-handle shower valve might sound intimidating at first thought, but of course, sometimes a book is not to be judged by its cover, and that is the case here. It is recommended that if the build-up of your shower has a special twist to it you should call in a professional. The cake is not worth the candle!