A steam bath session, followed by a shower and a moment of rest, brings significant benefits to the body. There are far too many reasons you should have a steam shower in your home. It opens the pores of the skin and facilitates sweating.
It also ensures the expulsion of toxins and excess fluids, stimulates cell renewal, improves blood circulation, clears the airways, relieves cold, and also some osteoarticular problems. So, how then do you take the benefits of this therapy? In this article, we’ll see how to build a steam shower in your home.
But first, we’ll see how it works, things to consider before the building process, and also the cost of setting one up, so you don’t end up with an unfinished, abandoned, or financially burdening project. But don’t worry! Building one at home is one of the most inexpensive ways to having access to regular steam baths.
 There are three phases of the traditional steam bath. The first involves a stop in an environment equipped with fresh water in which the whole body is moistened to prepare it for the next phase of the treatment.
This takes place in a room with a relative humidity of 100% which creates a fog with a variable temperature, between 20 and 25 degrees at floor level, up to 40 to 50 degrees at the height of the head.
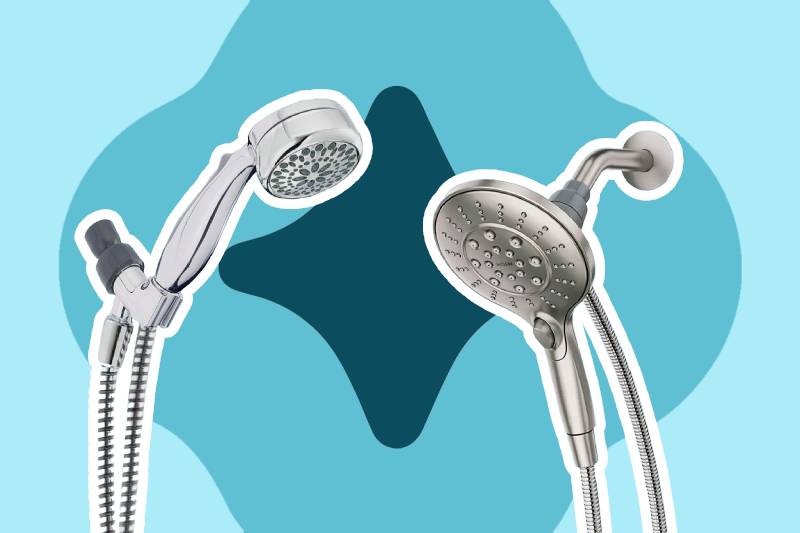
Lying on the warm stone marble surfaces, the users begin to sweat little by little. The treatment ends with a quick cold shower which can be followed by a further steam bath.
Consider the following features and criteria before starting the process of building your steam bath.
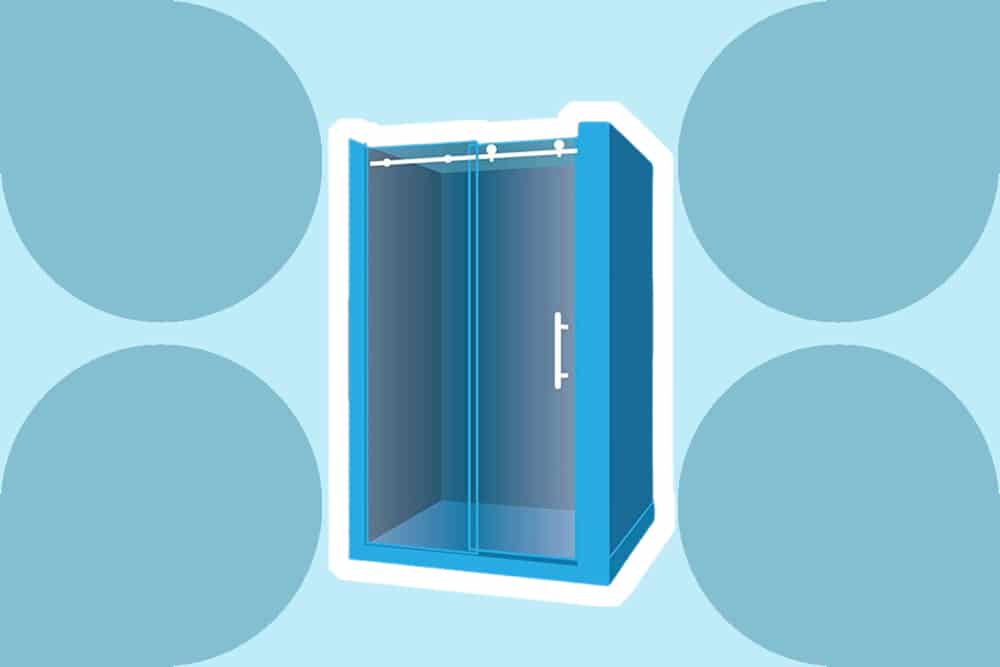
You can have your steam shower enclosure in your bathroom. If you are thinking of renovating the bathroom, you can transform the shower cubicle into a shower cabin with a steam shower.
If, on the other hand, you have more space available, you can design a relaxation corner thinking about the number of people who will use it.
As for the size of the space, it can vary depending on your goals. You can opt for a small area, which allows one or two people to use the steam bath, or for a larger room.
The dimensions of a shower enclosure with a steam bath can follow the standard ones; the height instead should not exceed 90 inches (7 feet and 6 inches) in order not to waste energy and because the steam of the hammam would tend to rise too much.
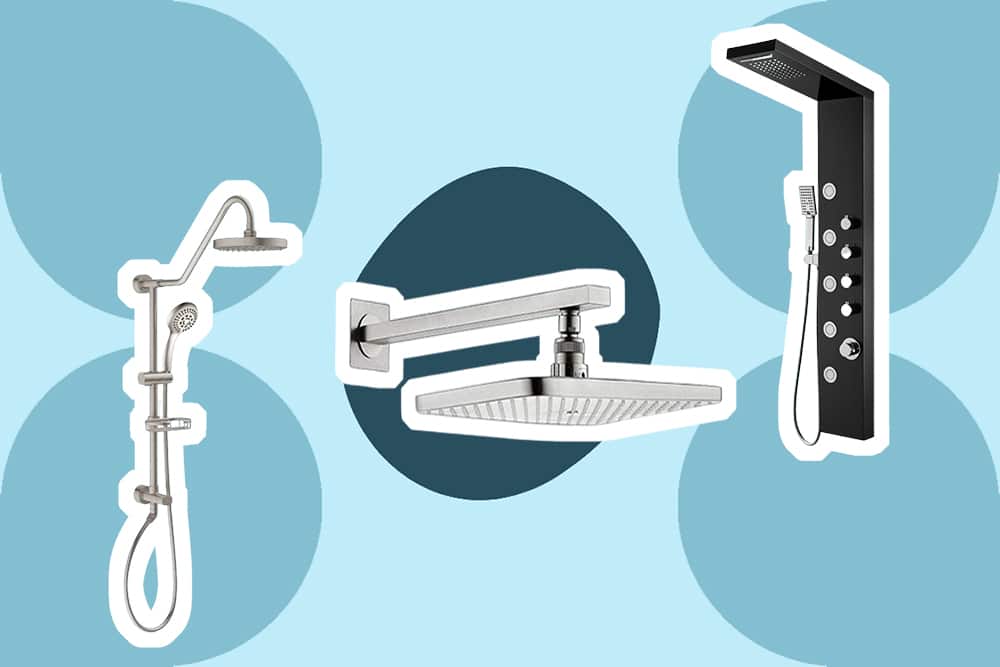
To have a steam shower, the following are essential:
Also, you can add other very relaxing options:
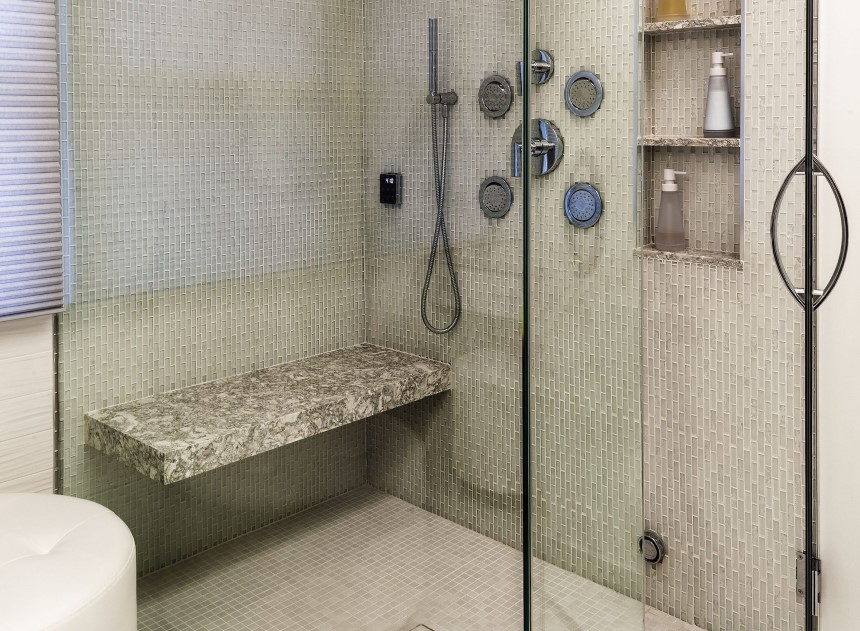 You don’t want to stand while bathing. You can get a wall-mounted bench or shower seat that you can flip up if space is a problem. You can also choose a stationary built-in seat for convenience and extra comfort.
Alternatively, you can also choose to use a shower stool. According to most reviews, the 18 inches Serenity Shower Stool, designed by EcoDecors is by far one of the most reliable and time-proven ones for a place with high humidity. It comes fully assembled and is made of solid, natural material; the teak wood.
Safety should be your priority while trying to build a steam shower. Installing a slip prevention mechanism is therefore important. You can prevent slip-ups by installing anti-slip strips on the floor of the steam room.
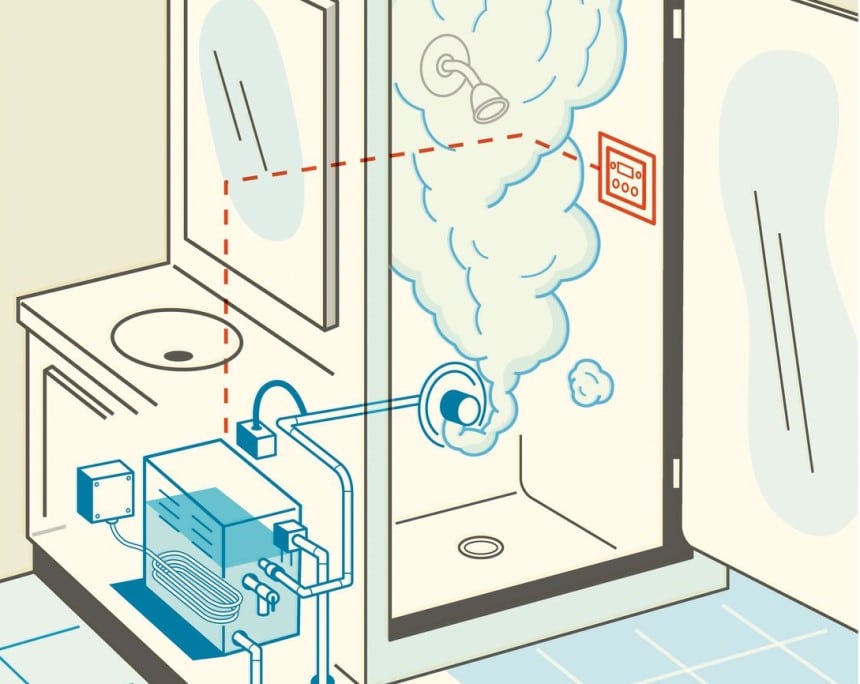
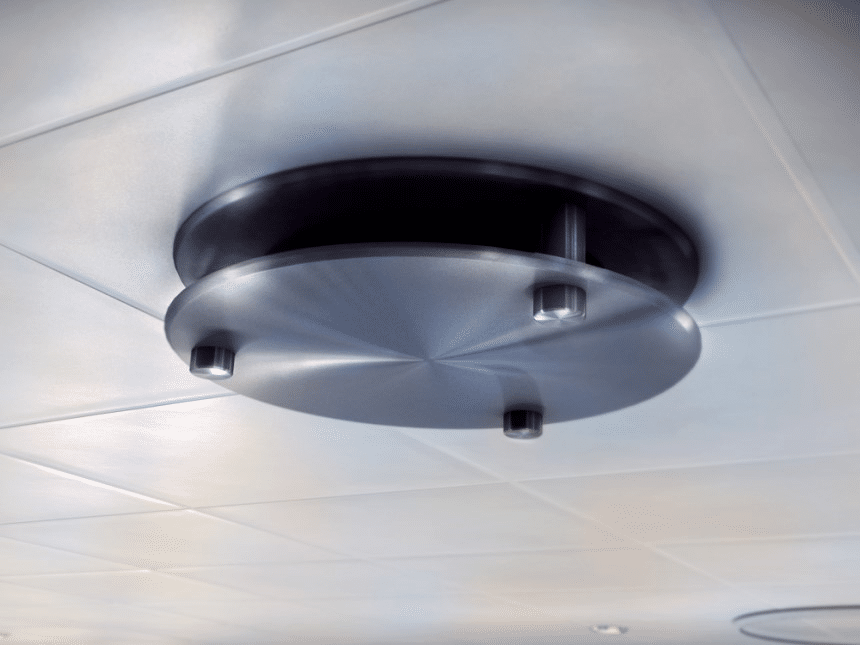
The choice of the steam generating machine, the insulation of the environment, and the chosen accessories make the difference in the process.
Different steam generators vary according to the power. The steam generators can be located inside or outside the compartment.
You can choose according to the cubic meters available, or even according to aesthetic preferences. There are integrated generators that are elegant and easily adaptable to the style of your furniture or simply functional, to be placed in the false ceiling or hidden but easily accessible compartments.
Installing a double pane window in your steam shower can add visual appeal to the enclosure. Also, sunlight or daylight can boost energy and mood while bathing. It also makes the room the best place to apply makeup.
Below is a quick video giving some tips and explaining mistakes in designing and building steam showers.
Creating a relaxing corner in your own home is easier than you think. The main elements to choose to create a steam bath are the seats, doors, and windows. Last but not least the steam generator.
The structure of your steam bath can be formed from hardboard or wood.
Don’t just install tile on the wall. It is essential to always insulate beforehand. For individual users, 20mm insulation will be sufficient.
To reduce operating costs, we advise you to use insulation of 3 inches or more.
In general, to obtain an opaque white vapor: provide for ventilation in your steam room. This can be mechanical or natural.
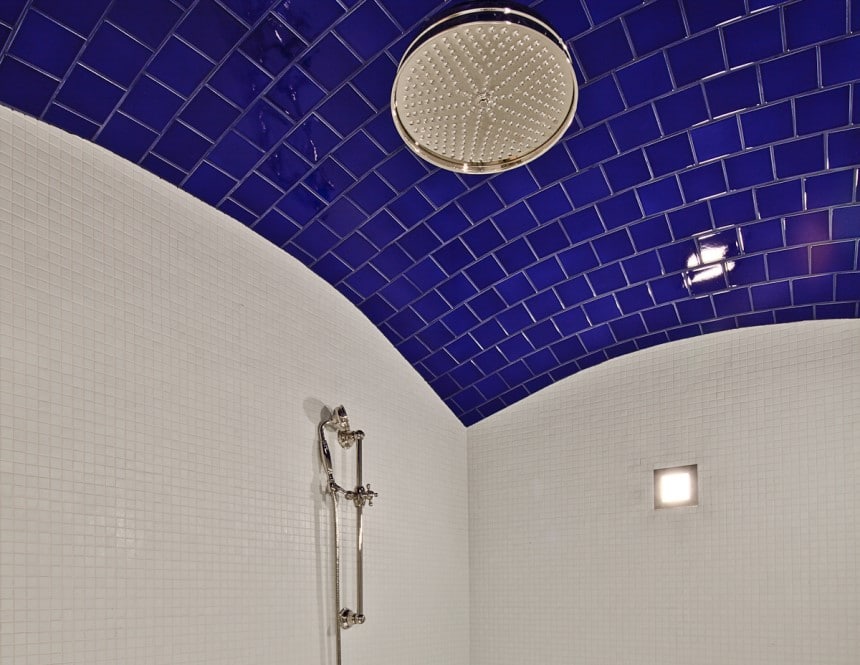 The ceiling should be curved so that water can slide along the walls, rather than falling like hot rain. We recommend using a low ceiling (for more heat and since you are usually sitting in your steam room). The optimal height is around 86 to 87 inches.
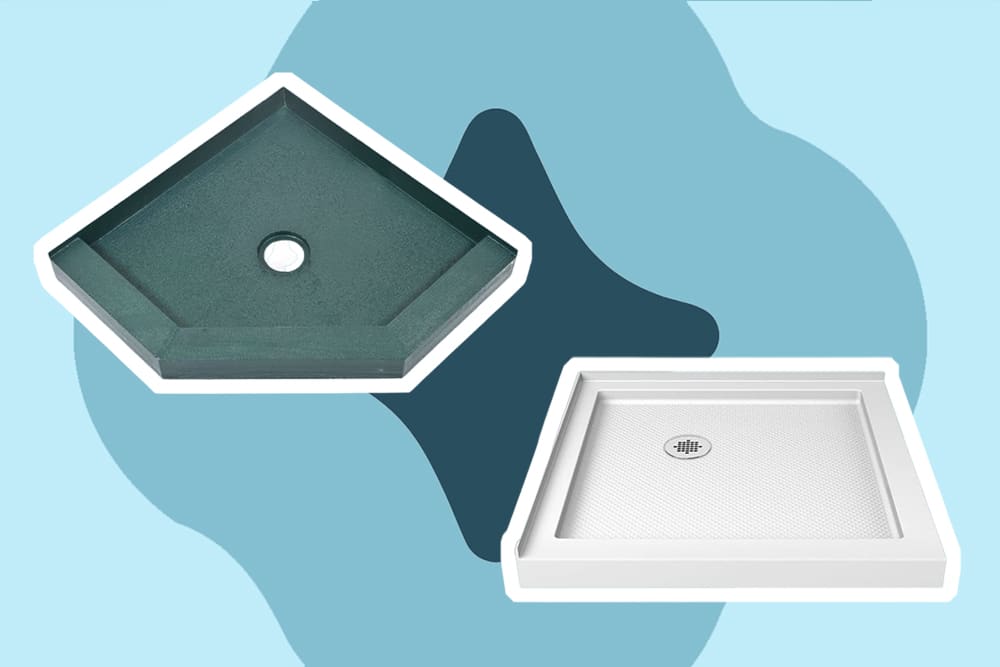
No specific flooring is needed. Note that as the only obligation, the floor must be fitted with a drain, as would that of a shower.
 A flow of fresh air is necessary for the production of white vapor. In a well-insulated steam bath, once it has reached the programmed temperature, the resistors will turn off and will not restart until the ambient temperature has considerably decreased.
The equilibrium point of the room will also change as the walls and air warm up. This phenomenon will be recognized by the change in color of the vapor (which will change from white to transparent). The humidity will still be 100% but the vapor will have dissipated.
The flow of fresh air will prevent the generator from having to restart at 100% after long waiting periods and will maintain the formation of a white and renewed vapor at every moment.
We recommend that you do not use ceramic tiles more than 10mm thick. The finer tiles will be the best.
Indeed, if you are looking for a rapid temperature rise, the finest tiles will store heat more quickly than thicker tiles and you can use a less powerful steam generator, especially if you have a well-insulated steam room.
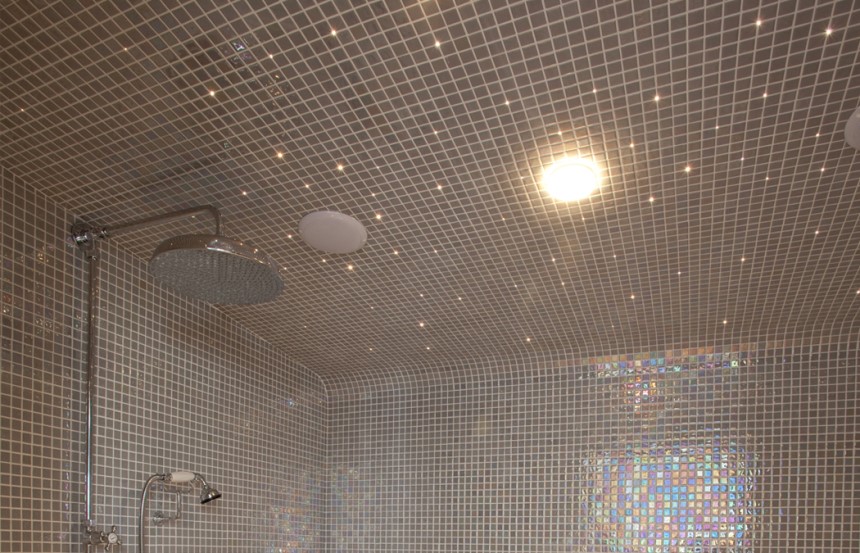 Different lighting systems are available to you. LED ribbons under the benches, a fiber optic starry sky on your ceiling, or a set of chromotherapy LEDs can be additional assets to your relaxation in the hammam.
In addition to these options, a spot of white light is strongly recommended because it will be useful when you cleaning the enclosure.
All lighting systems that come into contact with the bath and steam must be IP65 (at least) standard and resist oxidation. For example, we recommend the use of chrome-plated plastic lightings more than metal lightings.
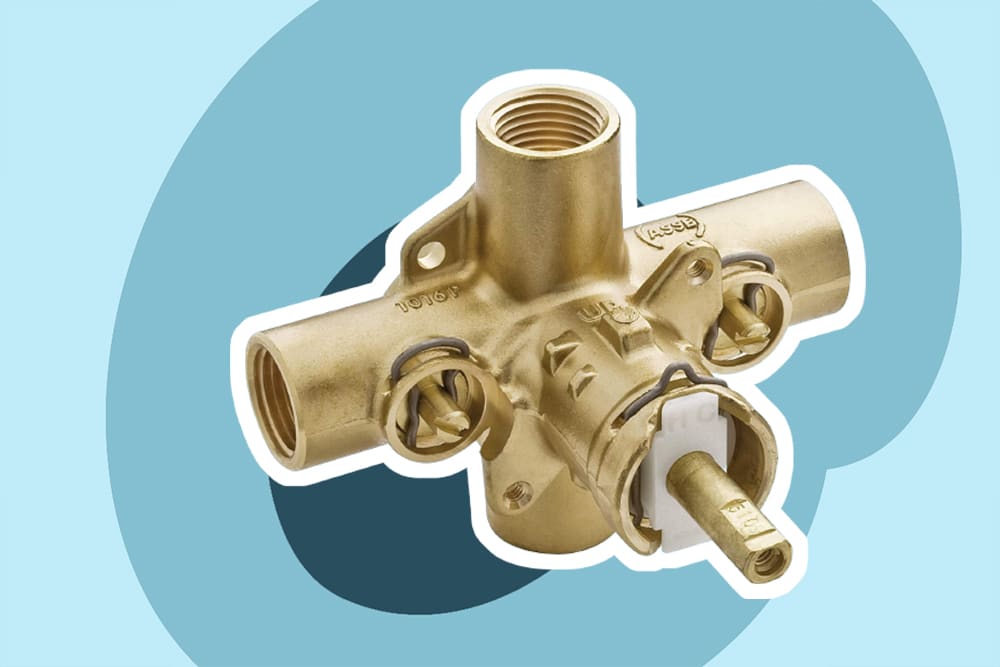
Below are the requirements for piping:
The generator can be placed anywhere outside the steam bath, without contact with humidity or strong temperature variations. It must be accessible to be able to carry out its maintenance.
Caution during installation: make sure to install the steam generator in such a way that the steam does not have to rise to reach the steam bath. Indeed, this would cause condensation which could damage the proper functioning of the generator.
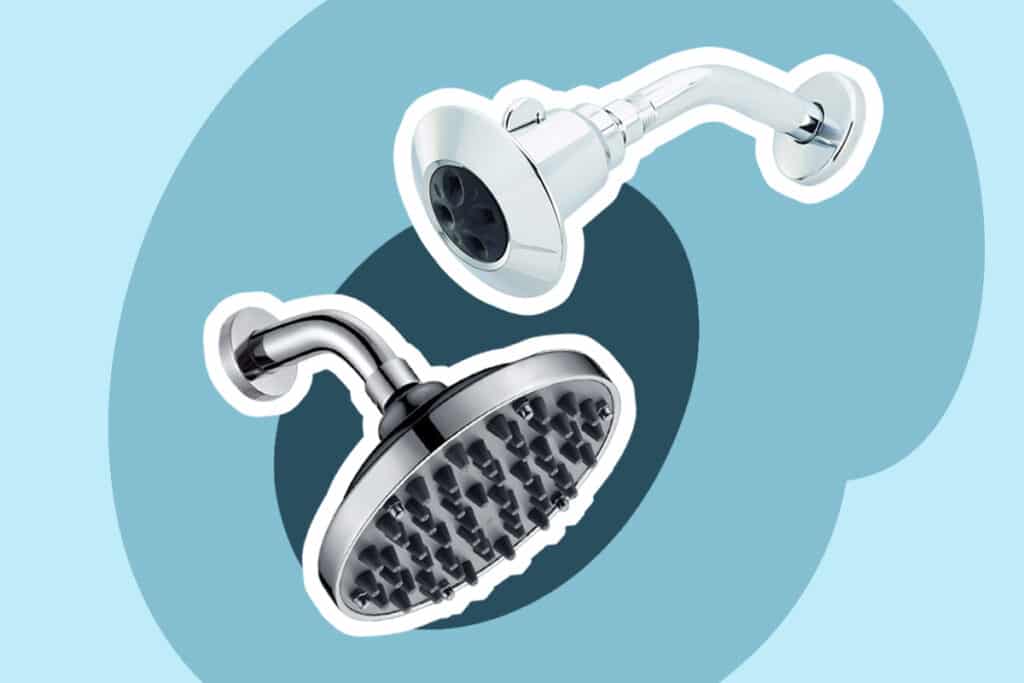
You will need to position the steam outlet nozzle about 30cm above the ground. It is important to keep the nozzle away from the feet of the users of the steam room to avoid burns.
If you do not wish to use the protective plate, make sure that your guests, who are not used to the layout of the steam room, know where the very hot steam outlet is located, so that they wouldn’t approach it.
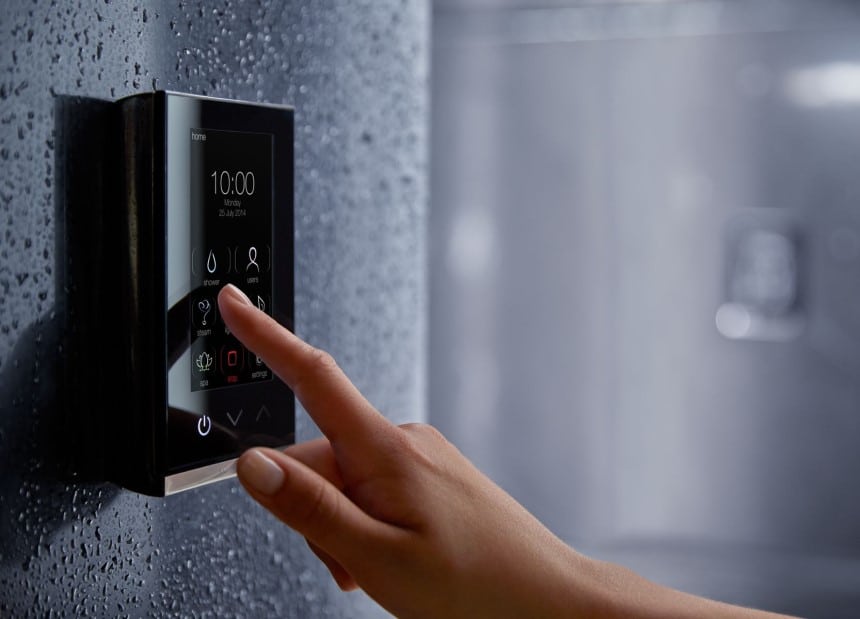 We recommend that you install the control box outside the steam cabin. Once you have determined the settings that are right for you, all you need to do is press the ignition button and the generator will start to operate according to the last settings you chose.
Costs and consumption of a steam shower have decreased in recent years. With the spread of wellness spas, manufacturing companies have specialized and perfected, and are becoming more competitive.
The new generation generators consume from 2 kW upwards and only for the initial period (about thirty minutes) of steam production; during use, consumption is also reduced by two-thirds.
Speaking of expenses, we can indicate a cost for the supply of steam with machinery ranging from $300 to $500 with power around 2.5 kW to $500 to $1000 with a higher power.
There are far more powerful models such as the 7.5 kW EliteSteam Luxury Home Steam Shower System. This system includes the Steam Shower Generator, the Control, the Steam Head, and Cable. It costs less than $2000, however.
According to their development, the shower door installation can range from $300 to $3300 for corner walls. For convenience, you shouldn’t forget the shower door grab bar.
Building a steam bath from scratch costs between $4,000 to $14,000, according to Home Advisor. Adapting an old shower box could be more or less cheap: the costs of the generator remain but, in some very basic versions, without luxuries and low cost, it can go down to $1000 in total.
The steam bath is for those who want to follow a wellness program at home, without going to a spa every time.
Having a steam bath at home, to enjoy moments of total relaxation, is a dream for many. The home steam bath might seem like an inaccessible luxury.
Yet, in addition to the more classic and canonical solutions, for steam bath lovers who do not have a high budget available, it is possible to adapt the old shower cubicle to a steam bath with a fairly reasonable expense.
Like a sauna, a steam shower is based on the exploitation of heat or humidity to bring beneficial sensations and processes to the body. We’ve shown you how to build a steam shower and hope the information you have here will be enough to help you take advantage of steam therapy.